Create your first exam
Written By Florian Barral
Last updated 1 day ago
This guide walks you through the process, from creating the exam to sending the grades, in 9 steps.
💡 Before your official exam, hold a practice exam so your participants can get to know the platform. See Recommendations
1. Create the exam
From the home page or a folder, click New Exam.
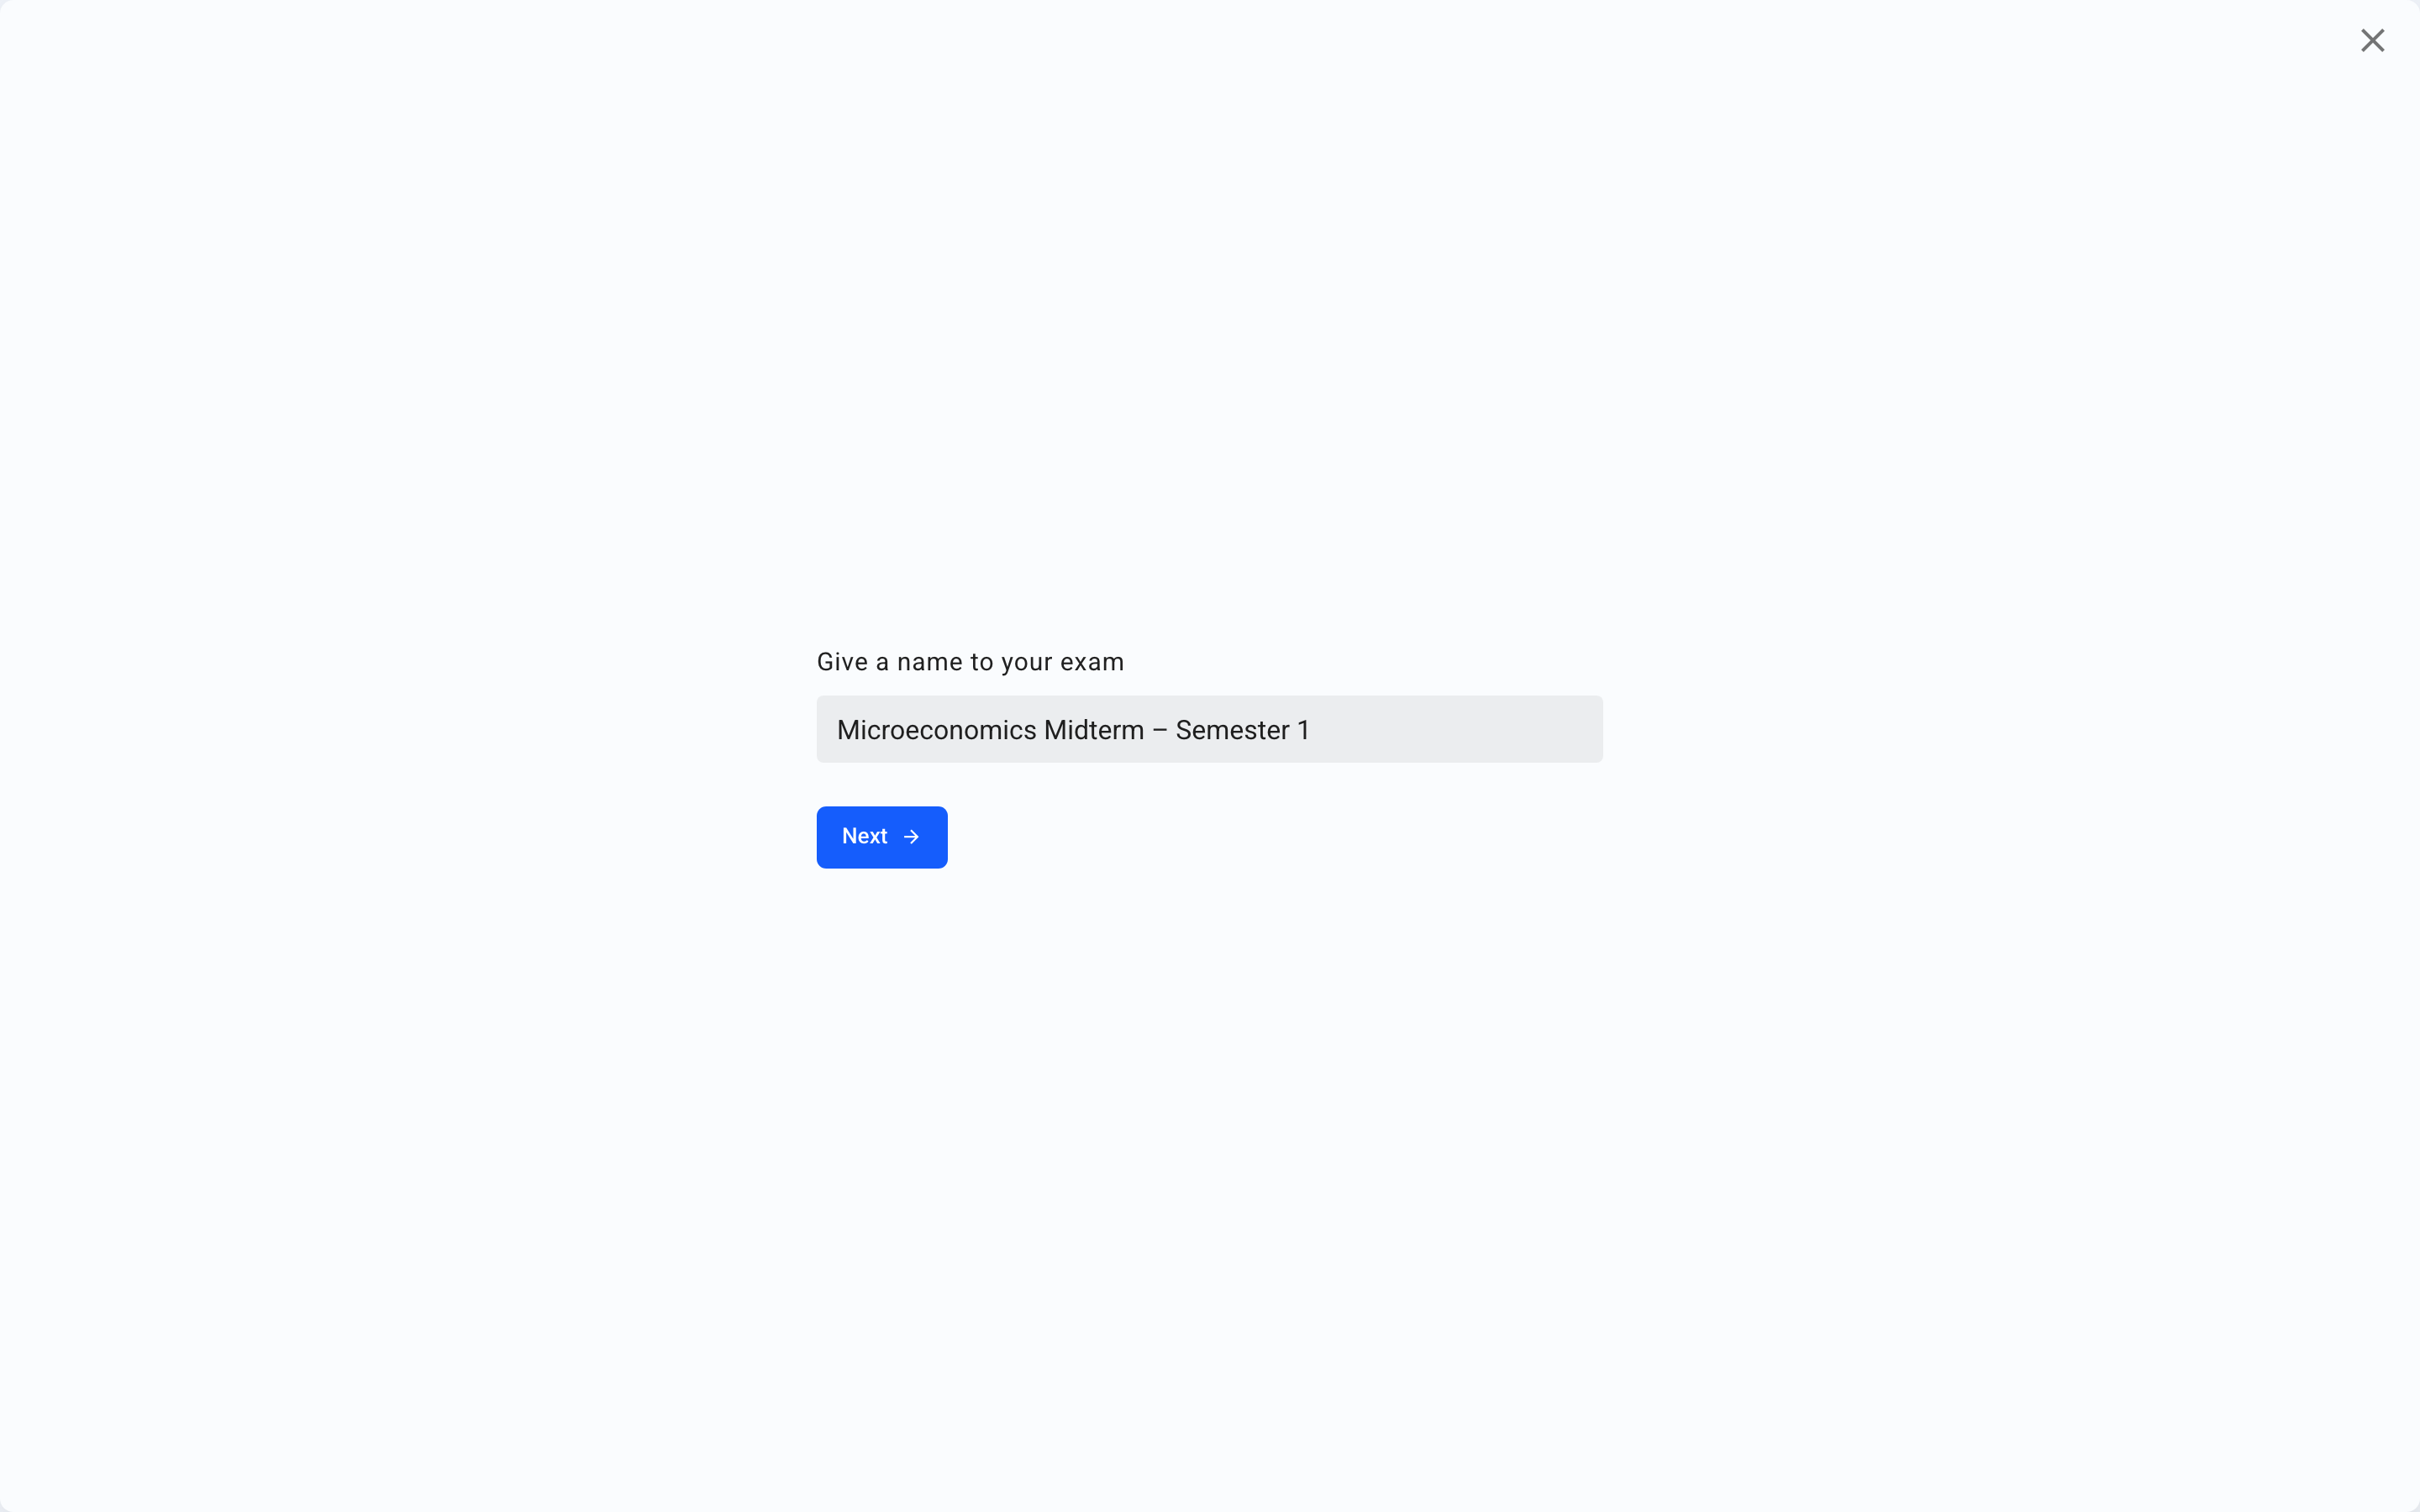
Name your exam, click Next, then Start.
The exam is created as a Draft: your participants see nothing until you open it.
2. Add the questions
In the Build › Questions tab, you have two options:
Write in the editor: add sections, exercises, and questions (MCQ, single choice, True/False, open question, Spreadsheet, Code, Schema, File upload…). See Structure an exam subject and Edit & Format Content
Import an existing exam subject with the Import › Subject button.
Available import formats:
Smart Import (beta): drop in a Word file, a PDF, an Excel file, or an image, and Evalmee detects the sections, exercises, and questions.
Text (Evalmee syntax): Import an exam subject in Text format
Markdown and AMC Text: copy and paste a text in this syntax.
Moodle XML: Import an exam subject in Moodle XML format
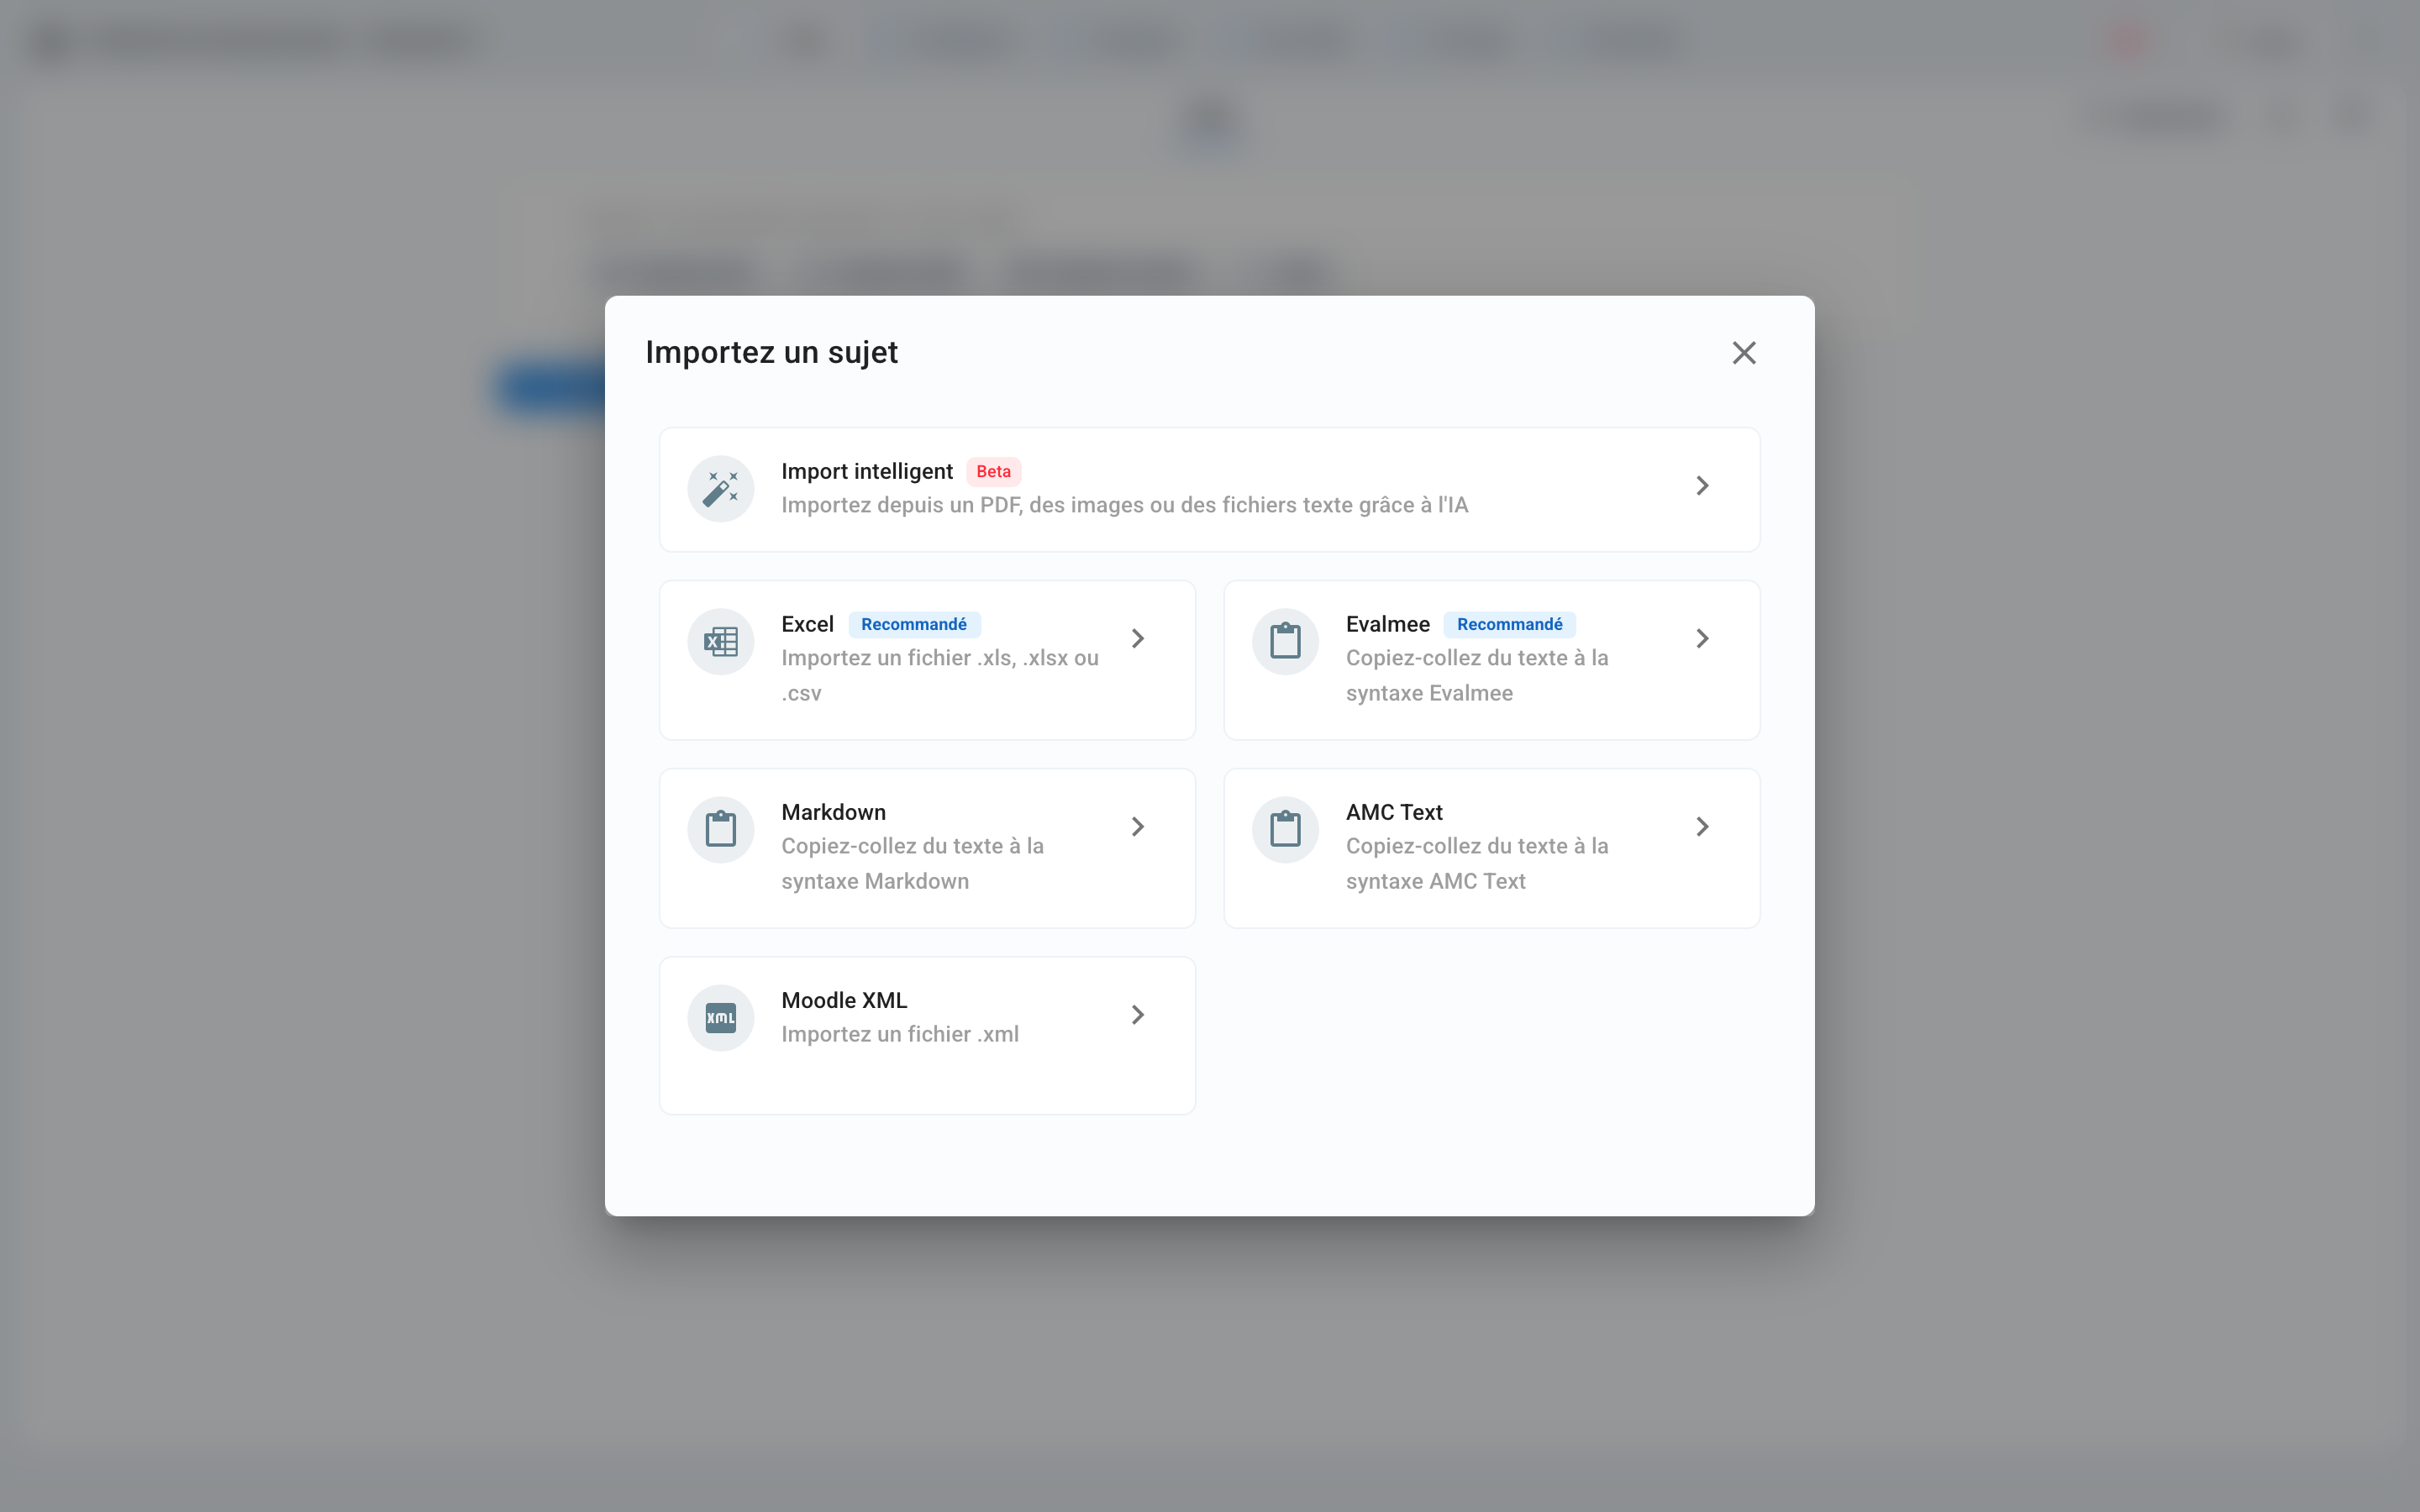
⚠️ Importing an exam subject replaces the existing questions. The exam subject is then saved automatically after every change.
Finally, assign points to each question: Define the points and grading scheme
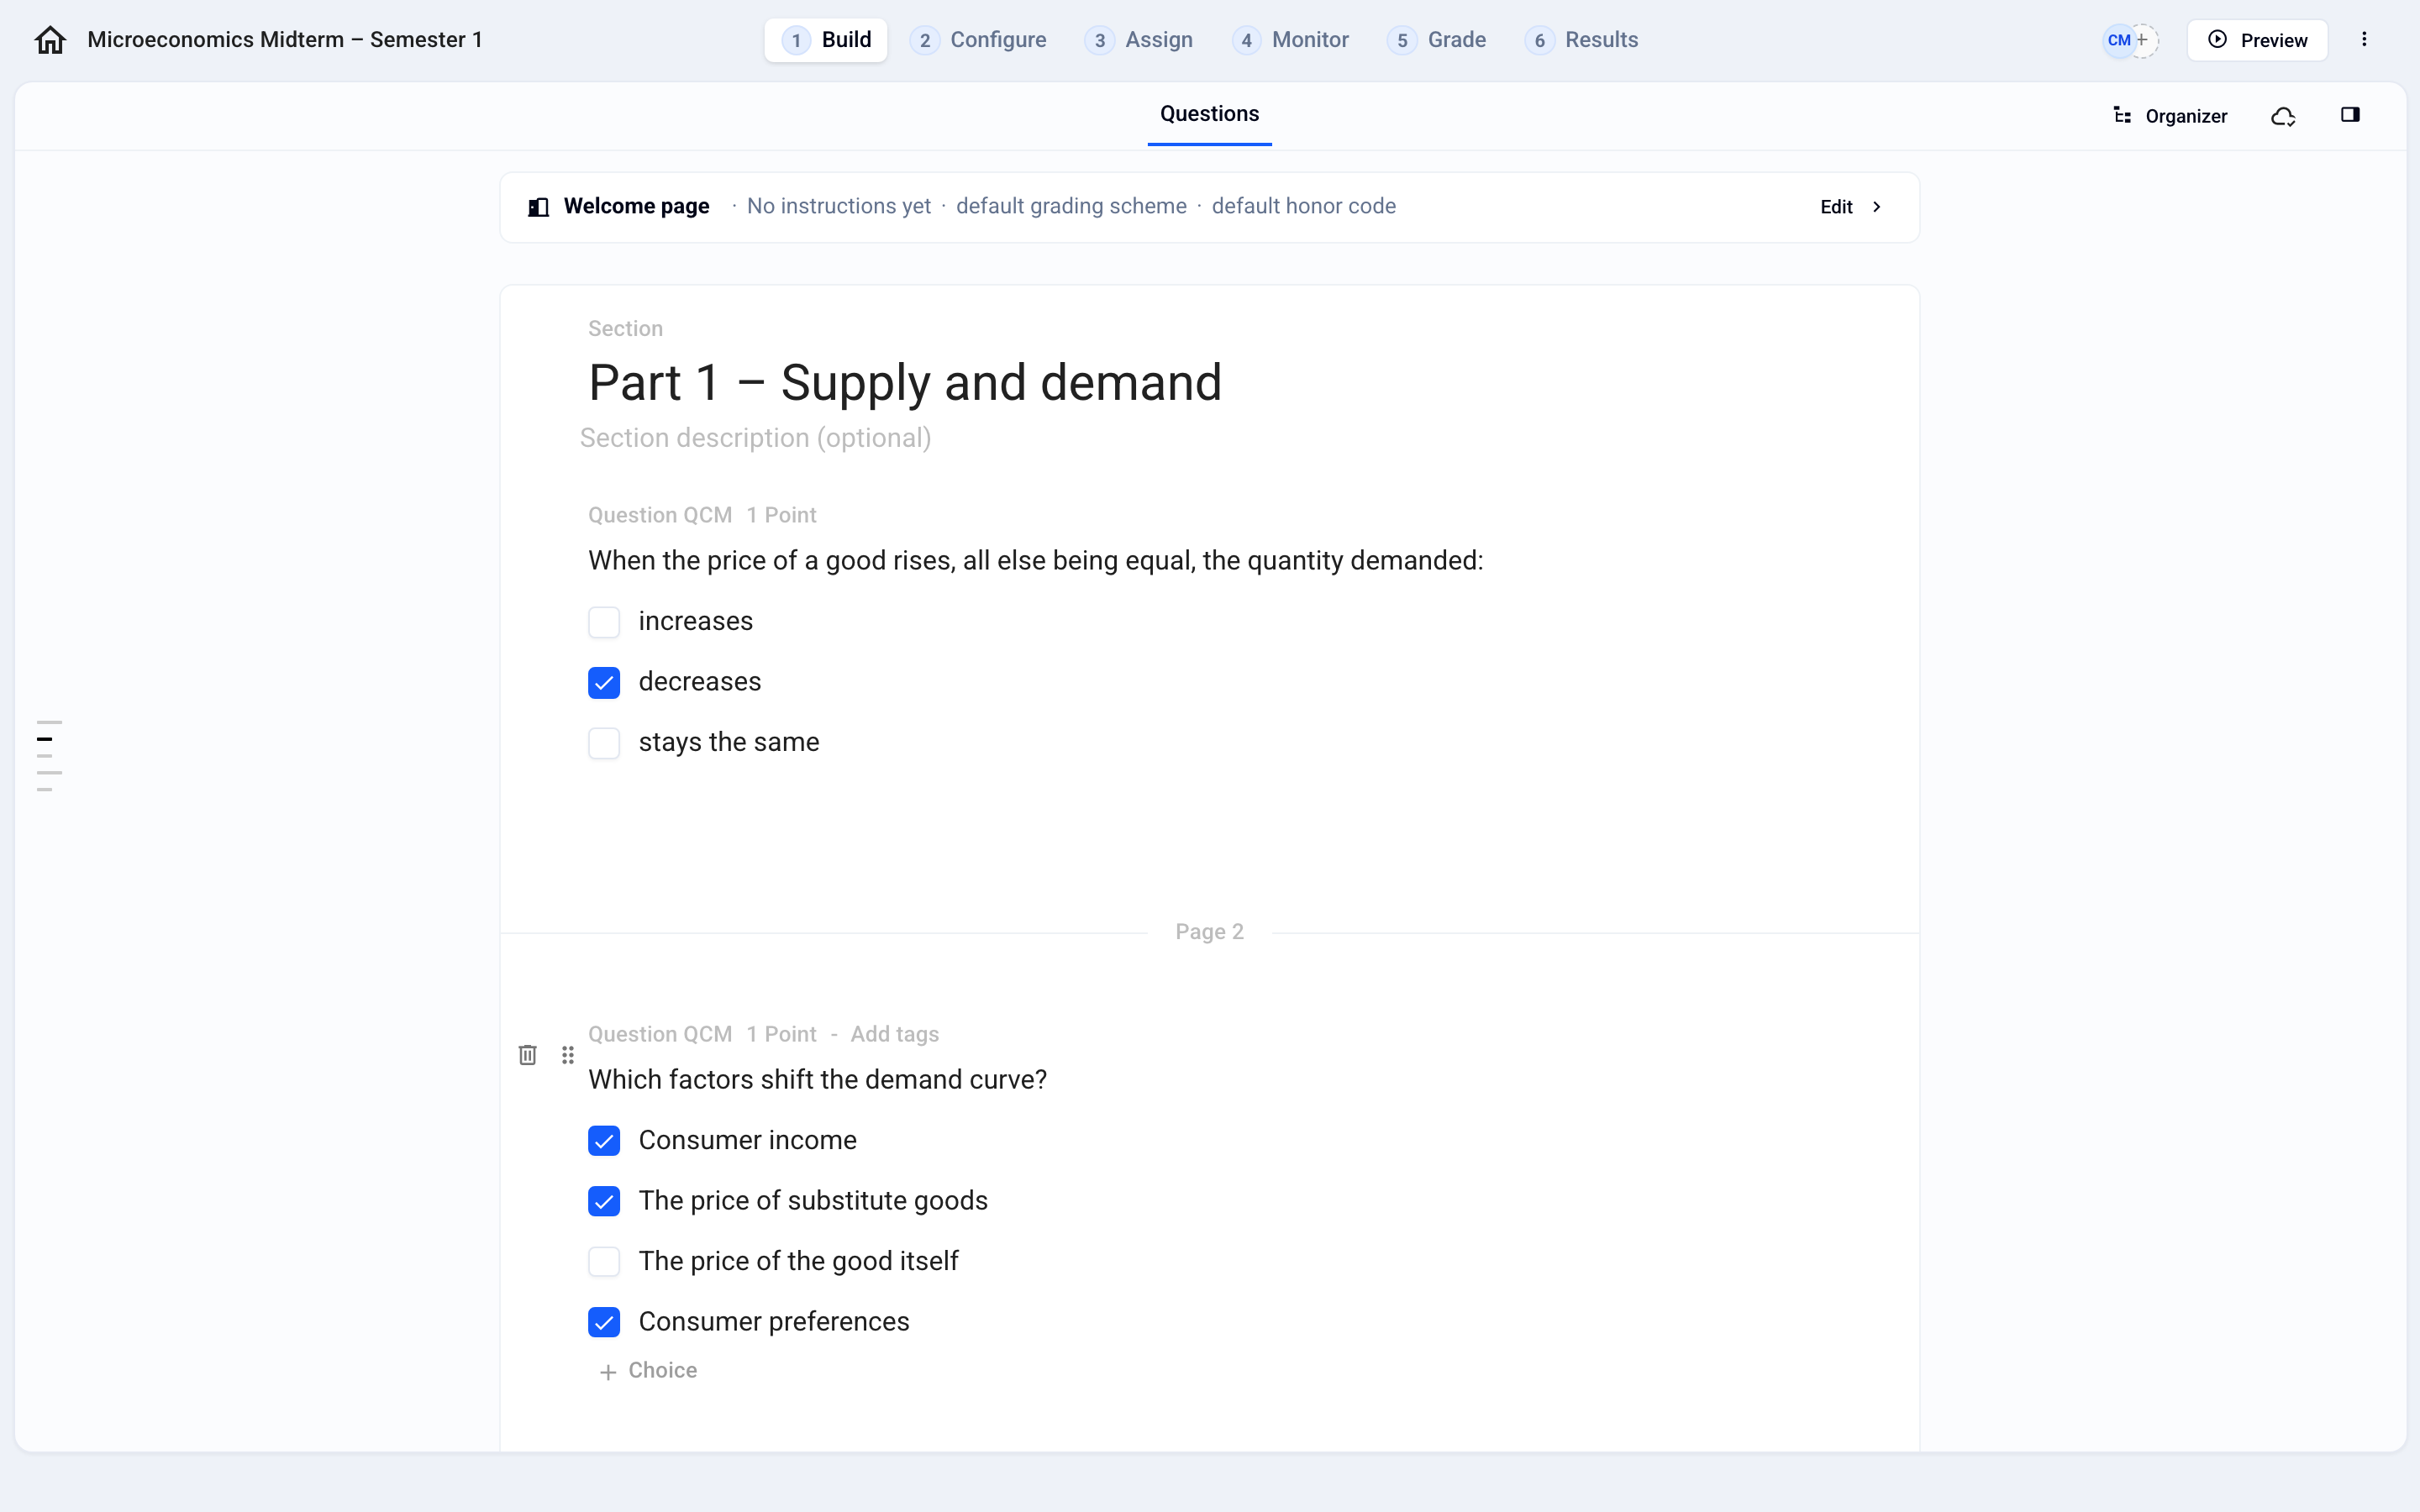
3. Configure the exam
In the Configure tab, set the time limit, navigation between questions, random order, anti-cheating measures, and proctoring. See Configure the exam settings
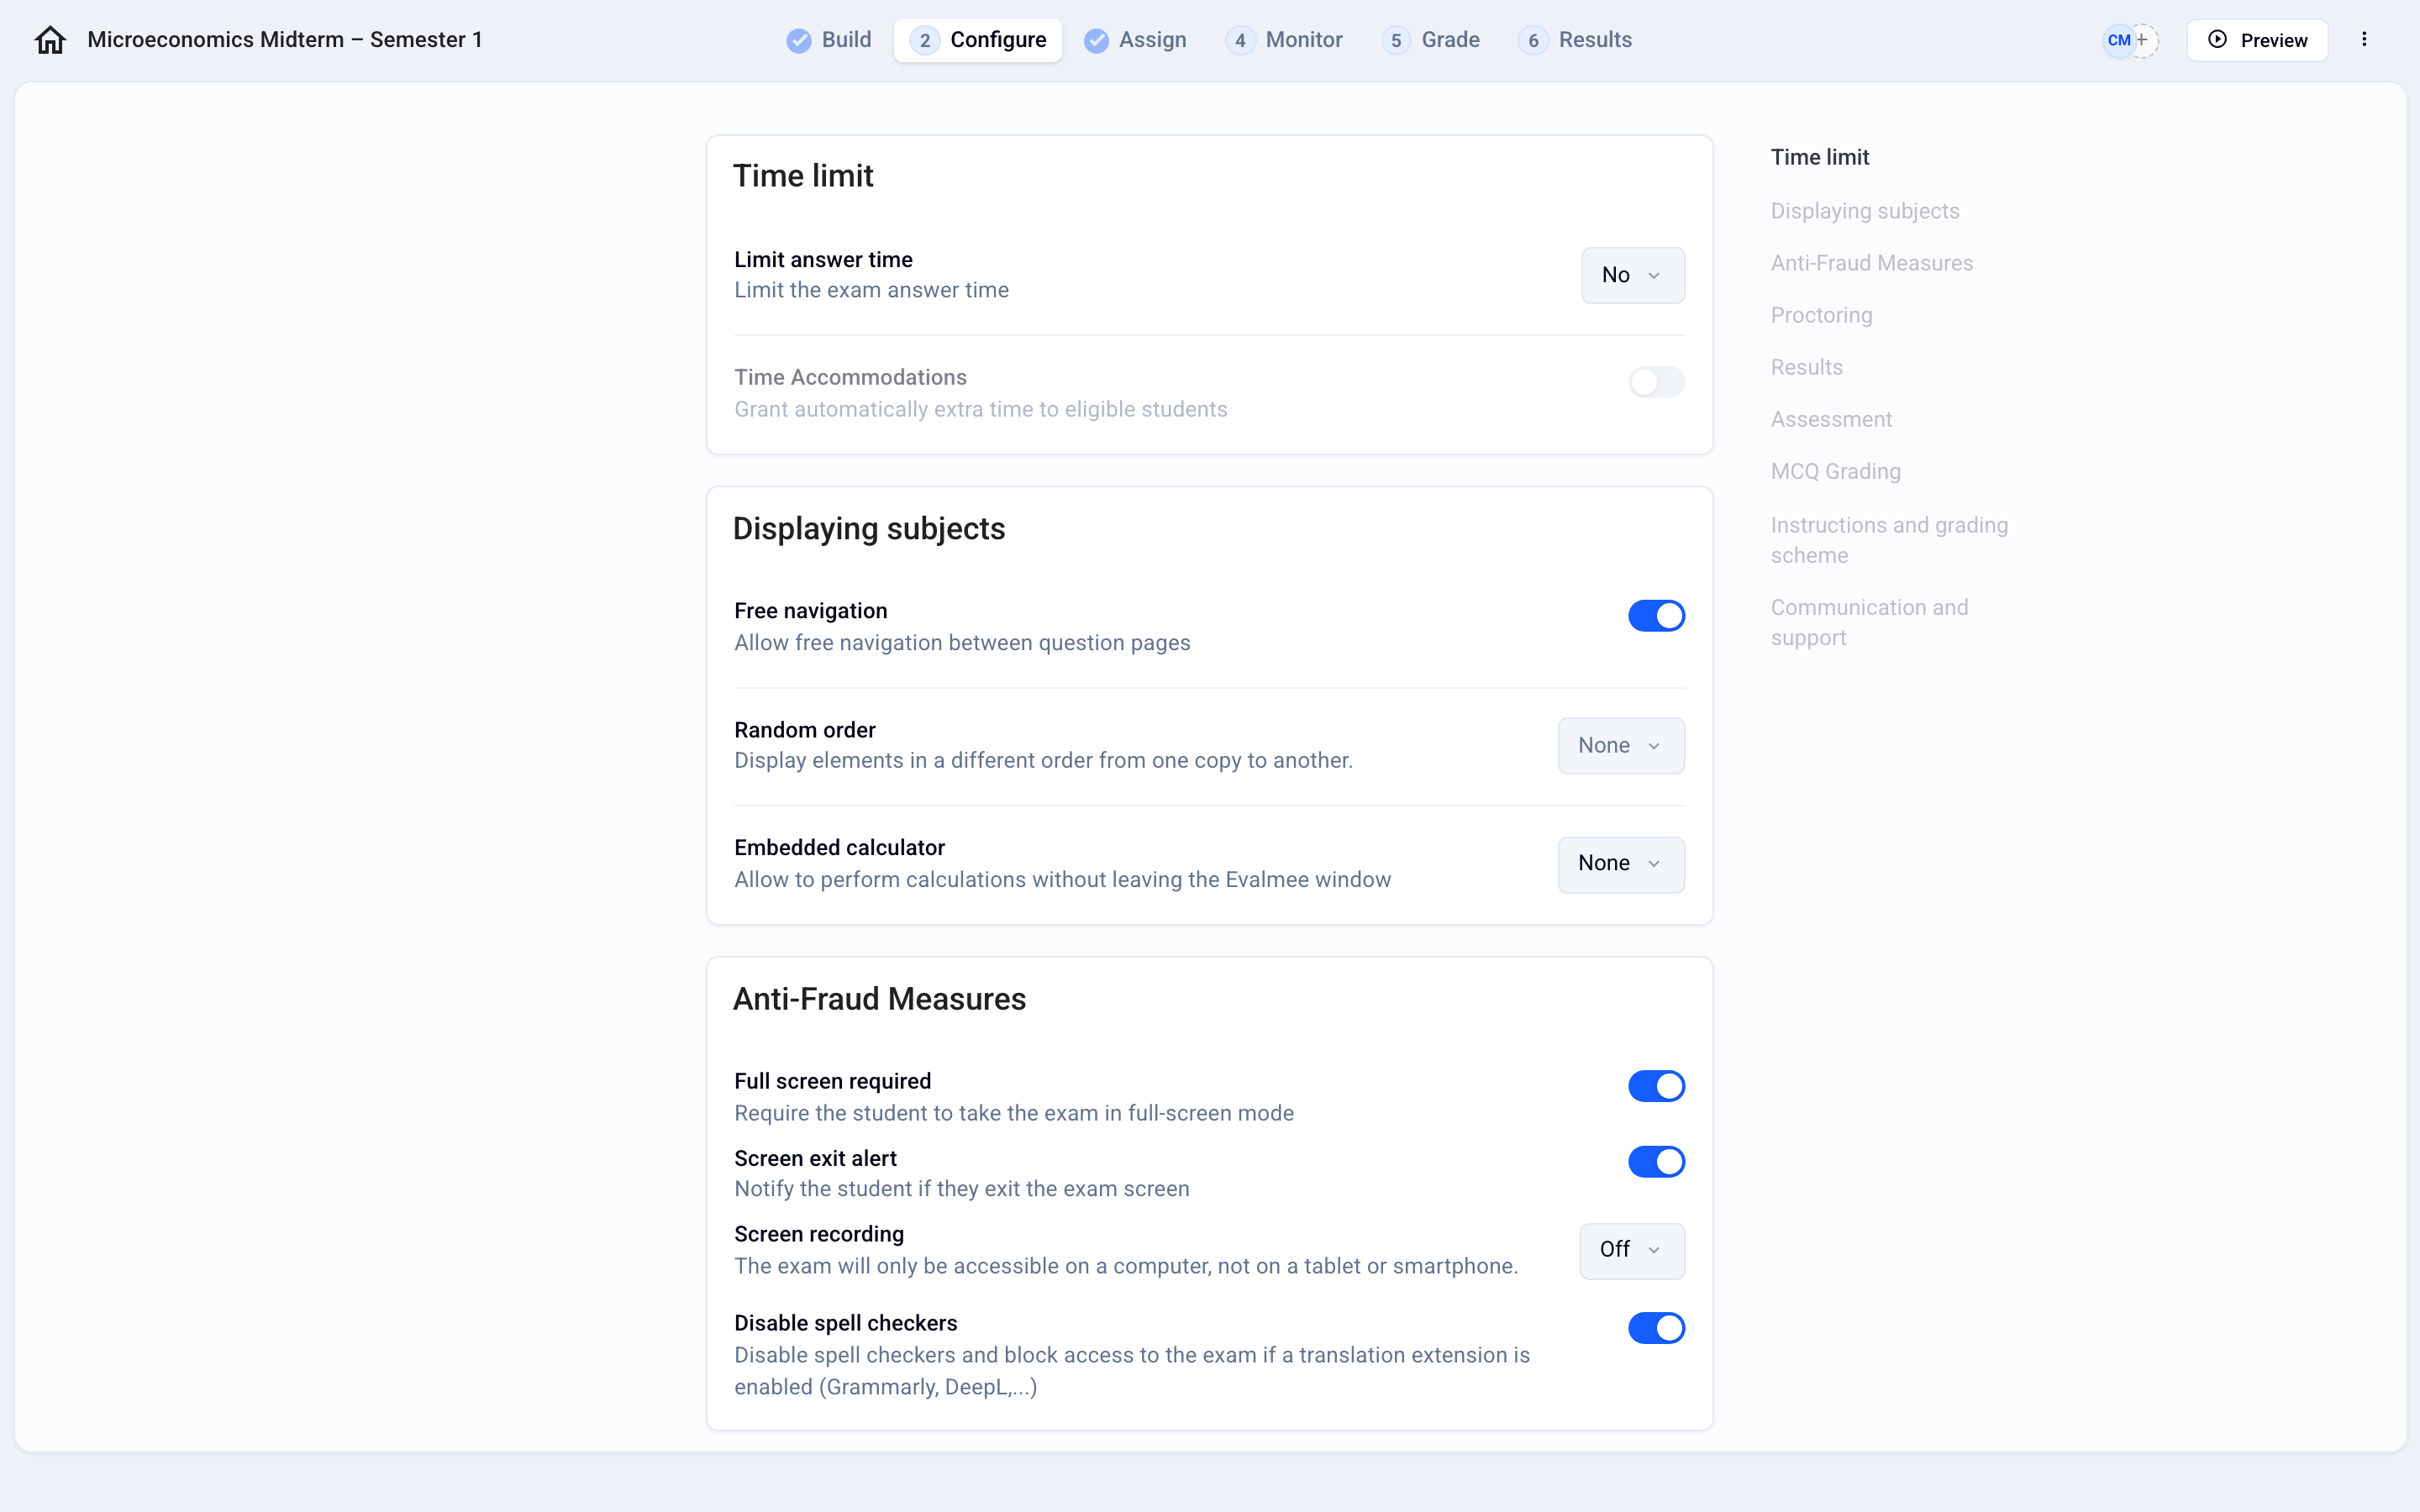
4. Test the exam
Once the exam is configured, test it:
Preview (top right): view the exam subject as your participants will see it.
Simulate (from the preview): take the exam as a participant, in a new window. You temporarily appear in the list of participants and grades; your answers are deleted when you stop the simulation. Simulation is available as long as the exam is a Draft.
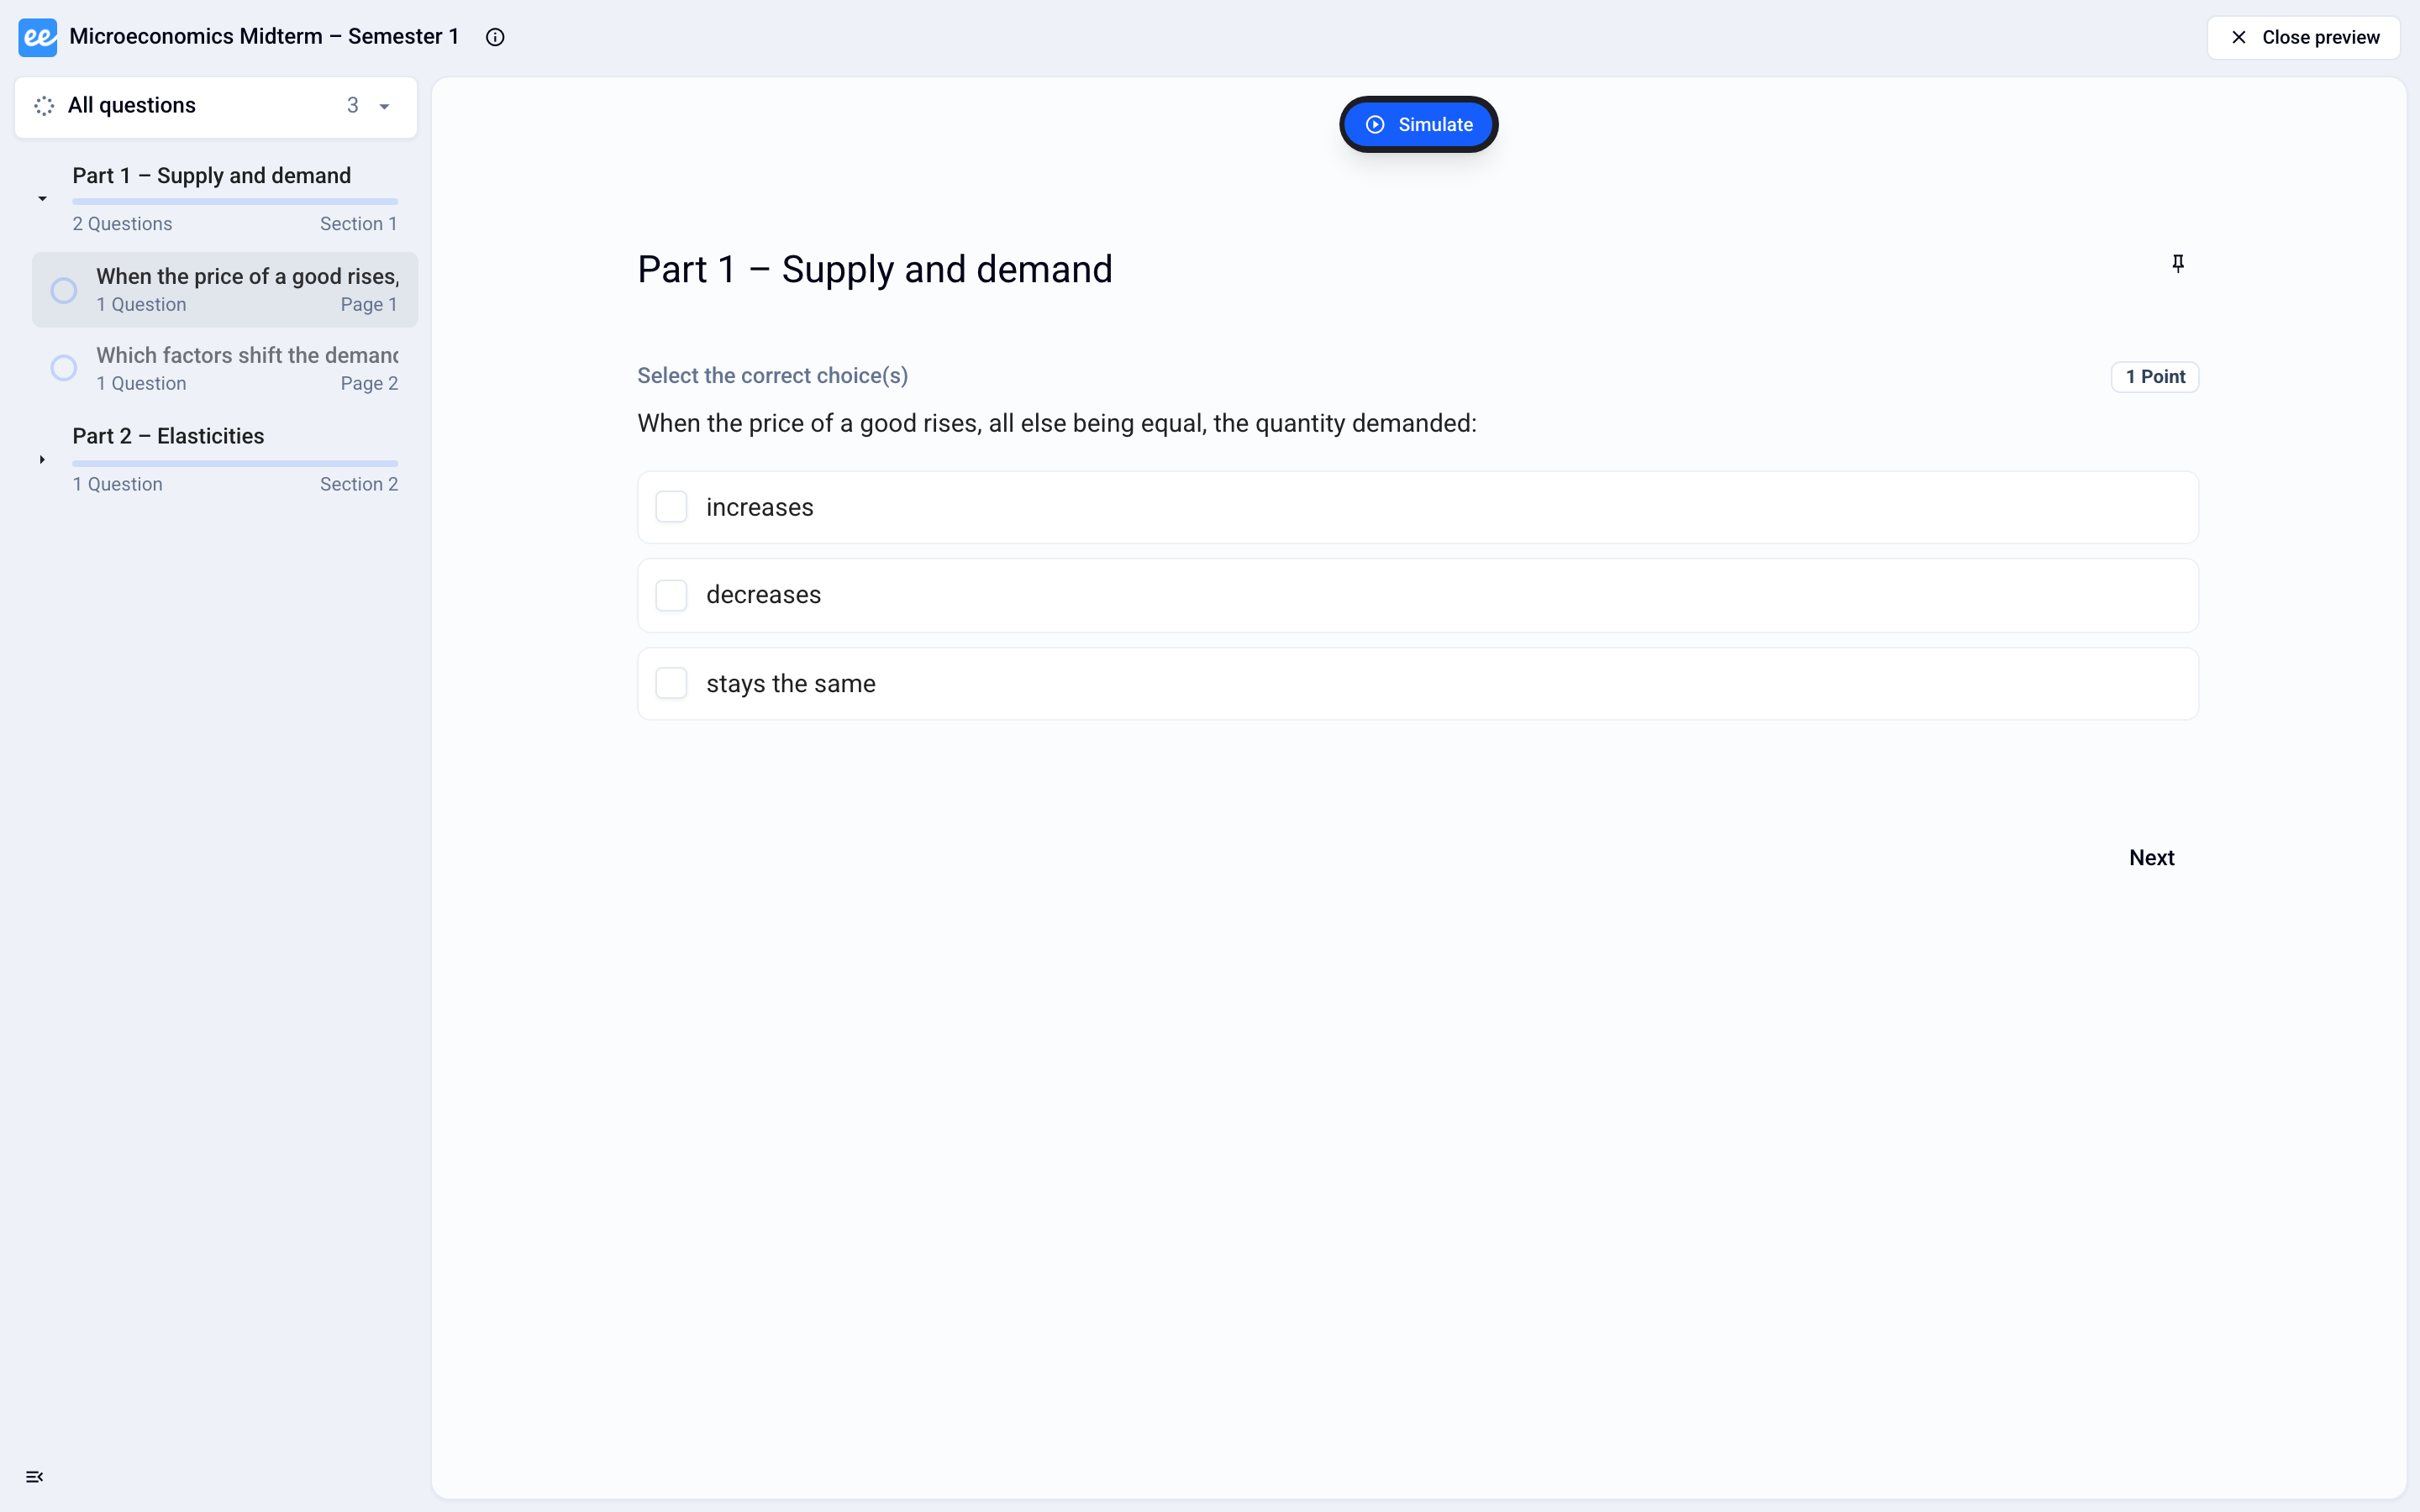
See Preview or simulate the exam
5. Enroll participants
In the Assign tab, on the Access card, click Add students: one by one, by pasting a list of emails, from an Excel file, or from an organization group. Once participants are enrolled, add more from Assign › Students with the Add button.
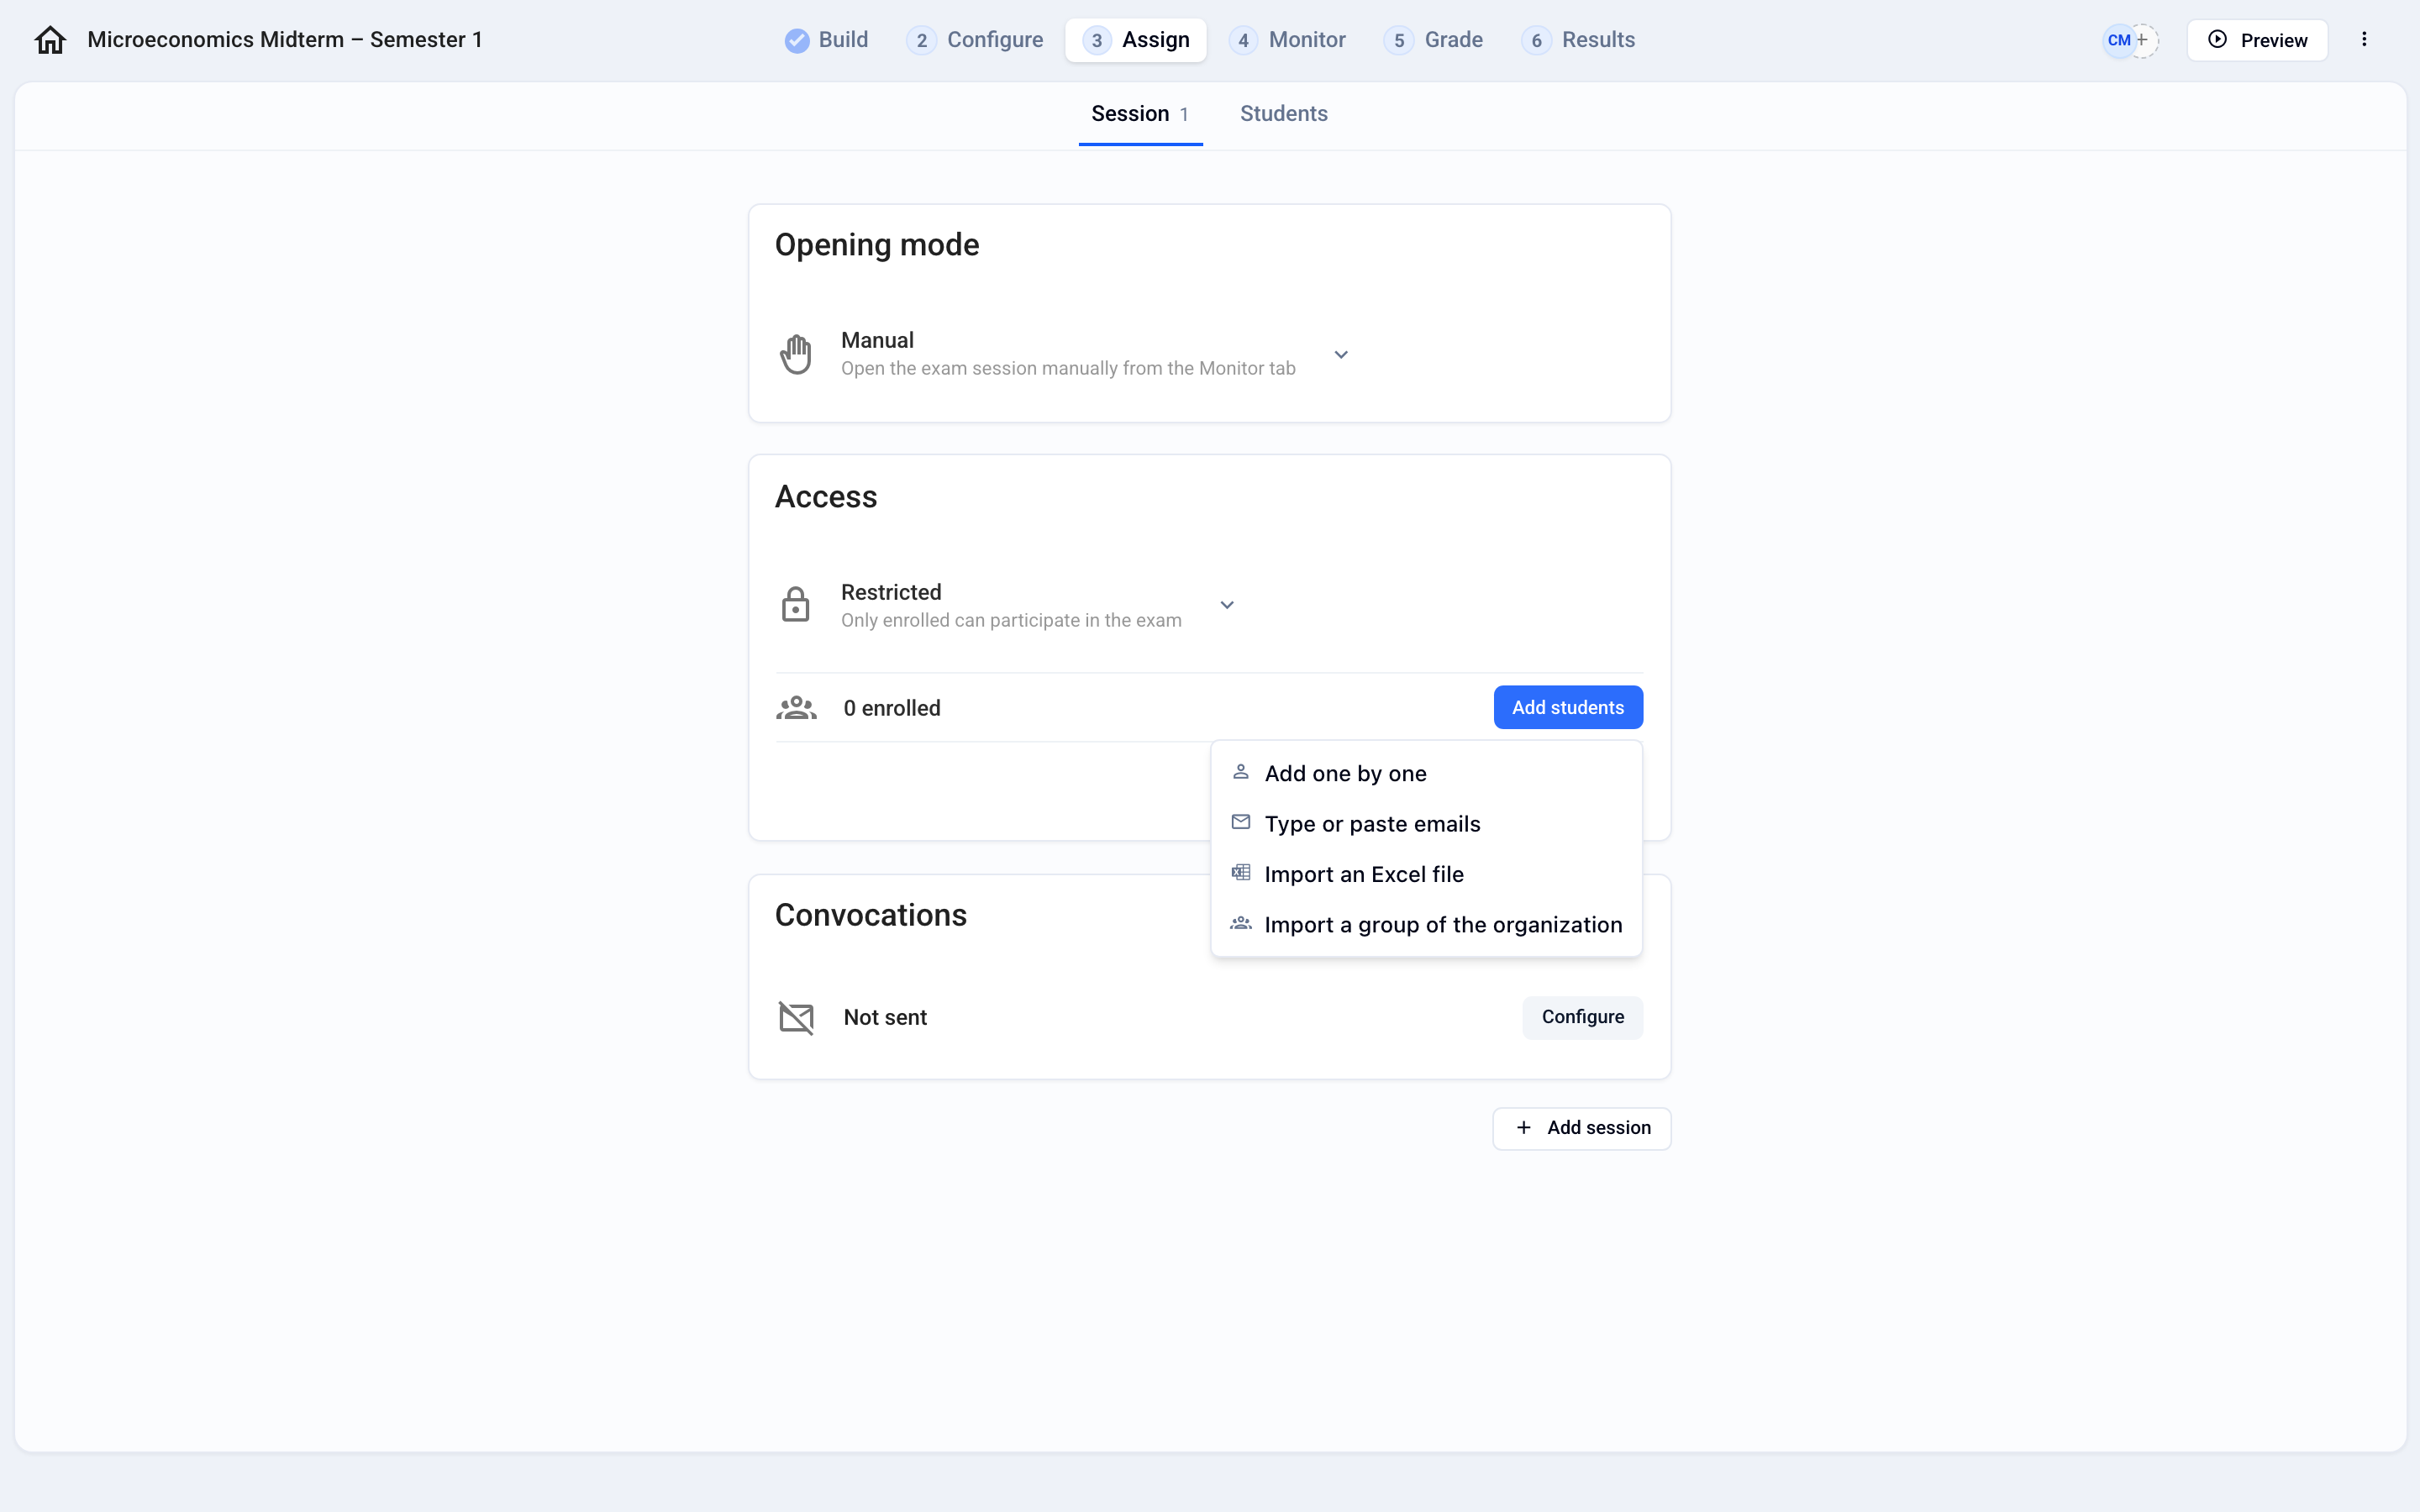
import a list: Import participants
or share a self-registration link: Share a self-enrollment link
Do some participants have time accommodations? See Manage time accommodations
6. Schedule the session
In the Assign › Session tab, on the Opening mode card, choose Scheduled, fill in the Opening and Closing times, then click Schedule.
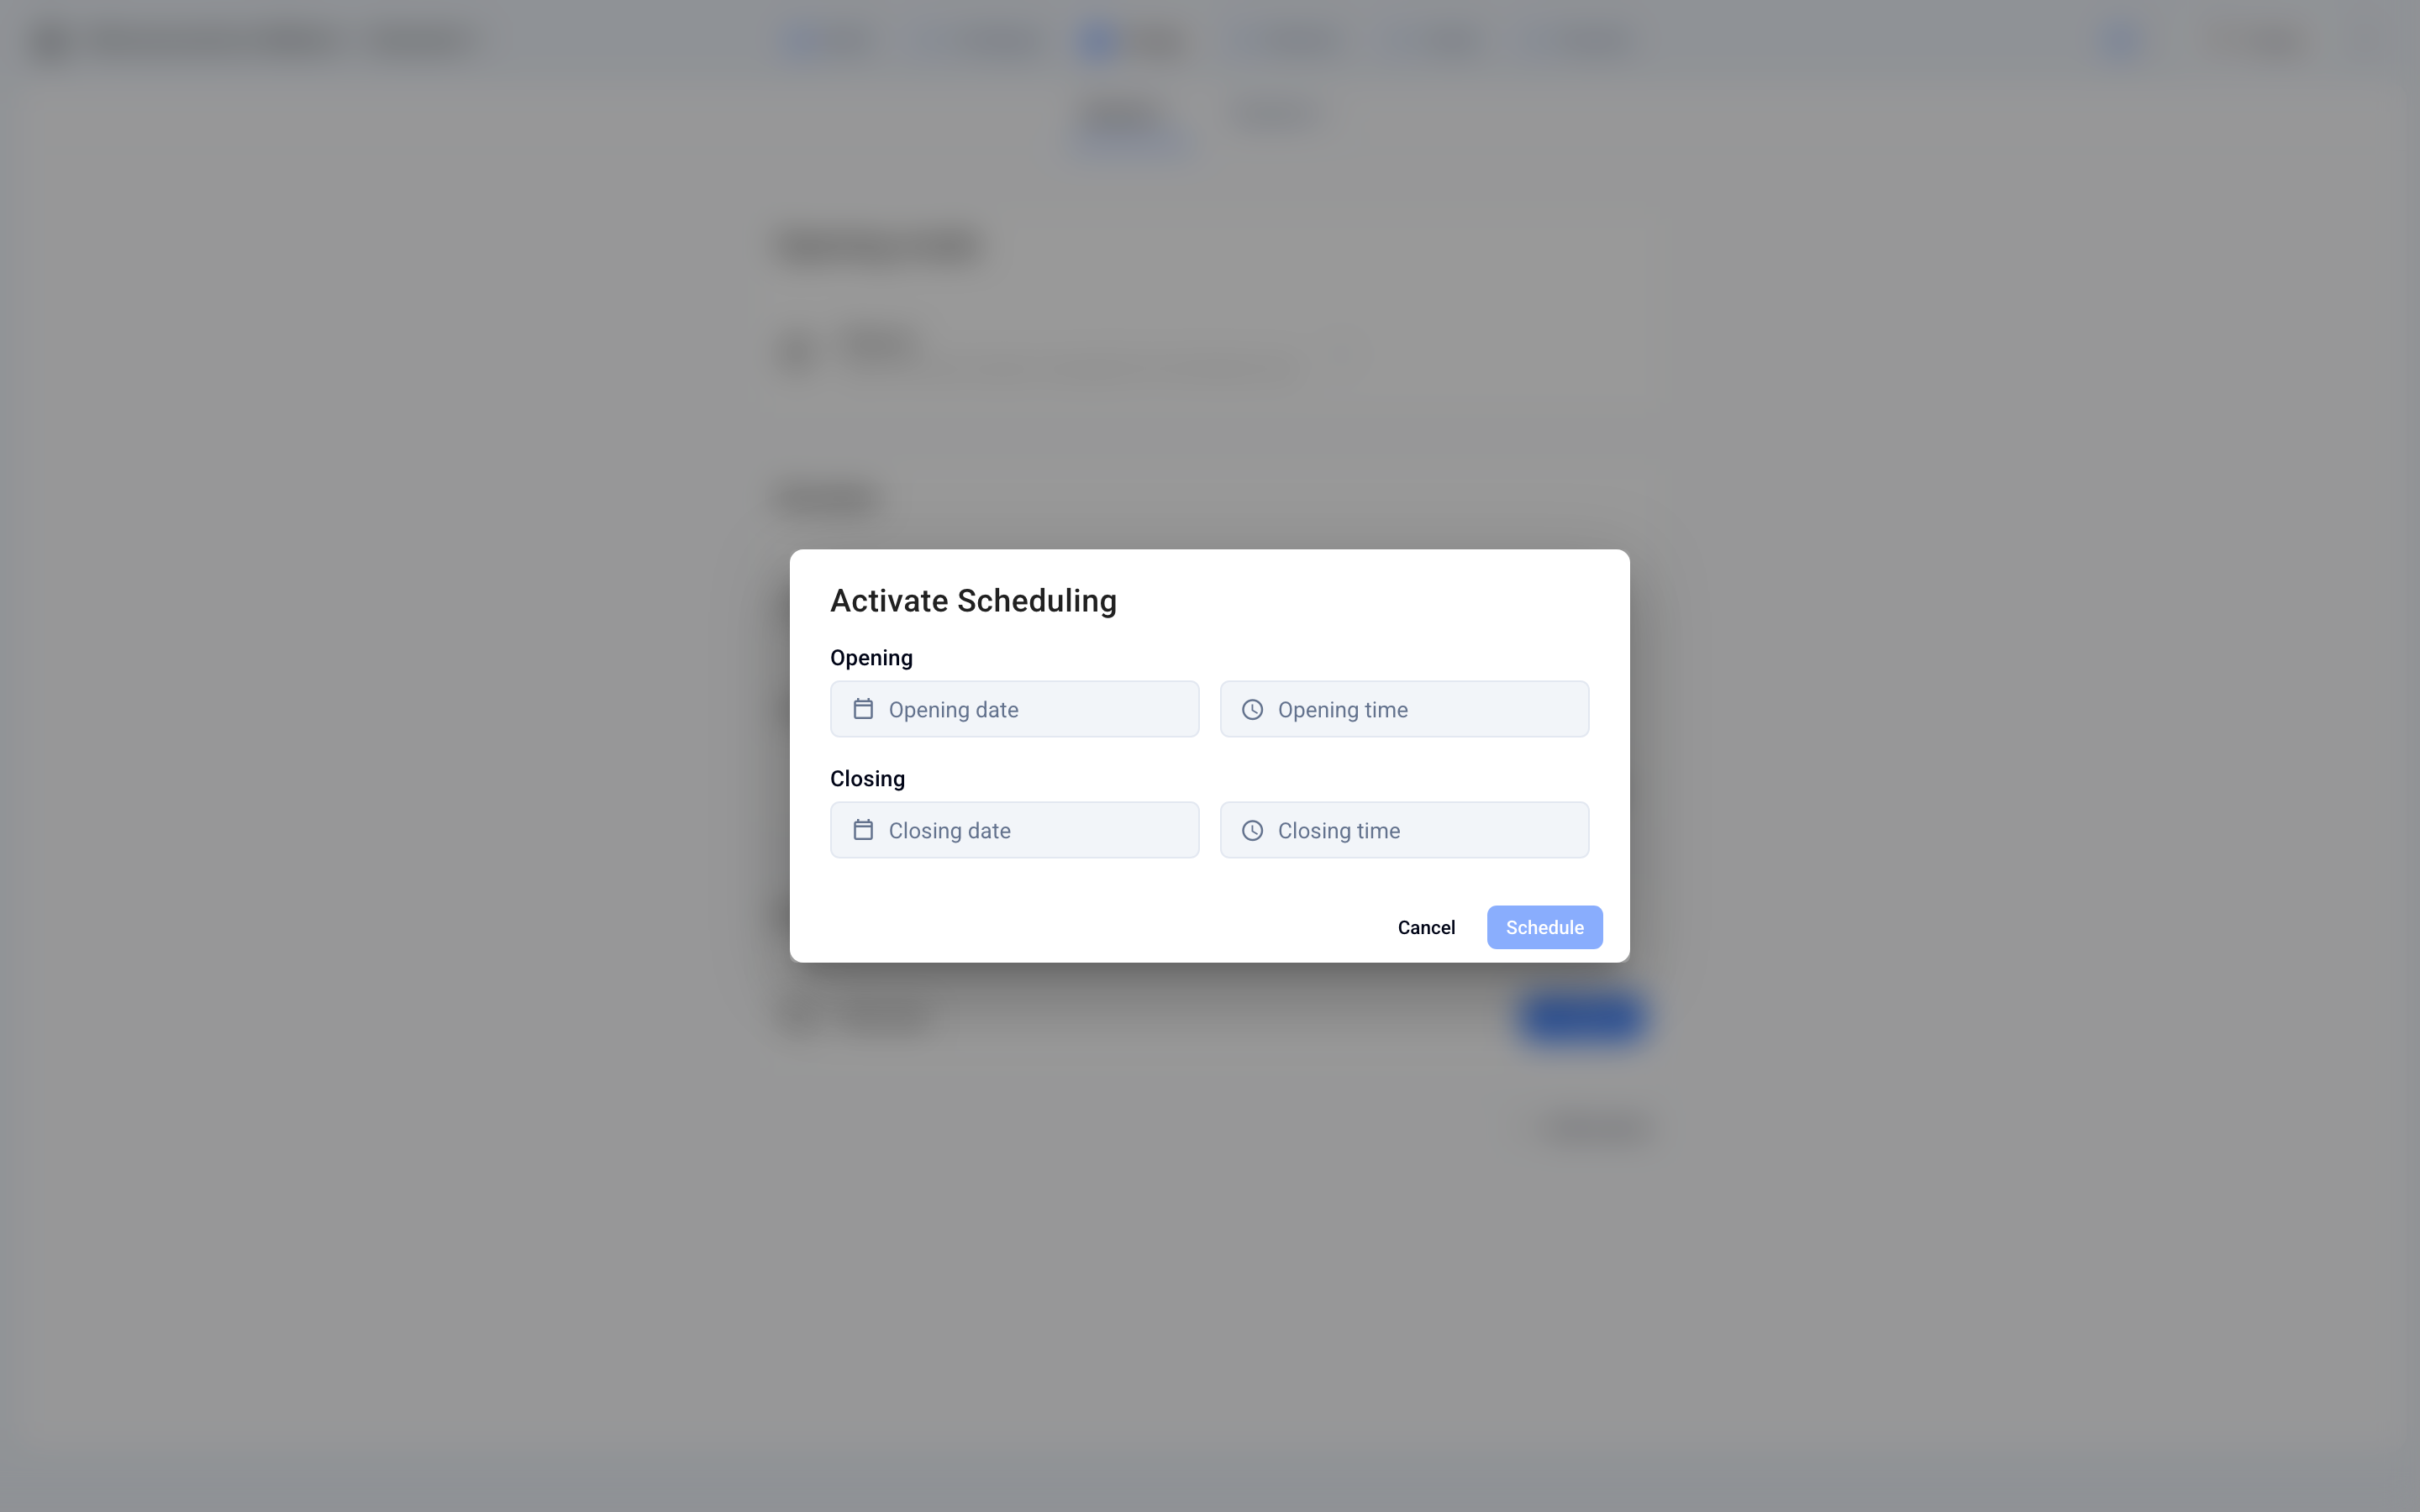
A single session: Schedule a simple exam (a single exam session)
Several groups or time slots: Create & schedule multiple sessions
You can also leave the mode on Manual and open the exam yourself on exam day (step 8).
7. Send convocations to participants
Still in Assign › Session, on the Convocations card, click Configure, ideally a few days before the exam. Choose a template (French or English): it picks up your settings, such as the schedule. Customize the email if needed, then click Send convocations. See Send convocations to participants by email
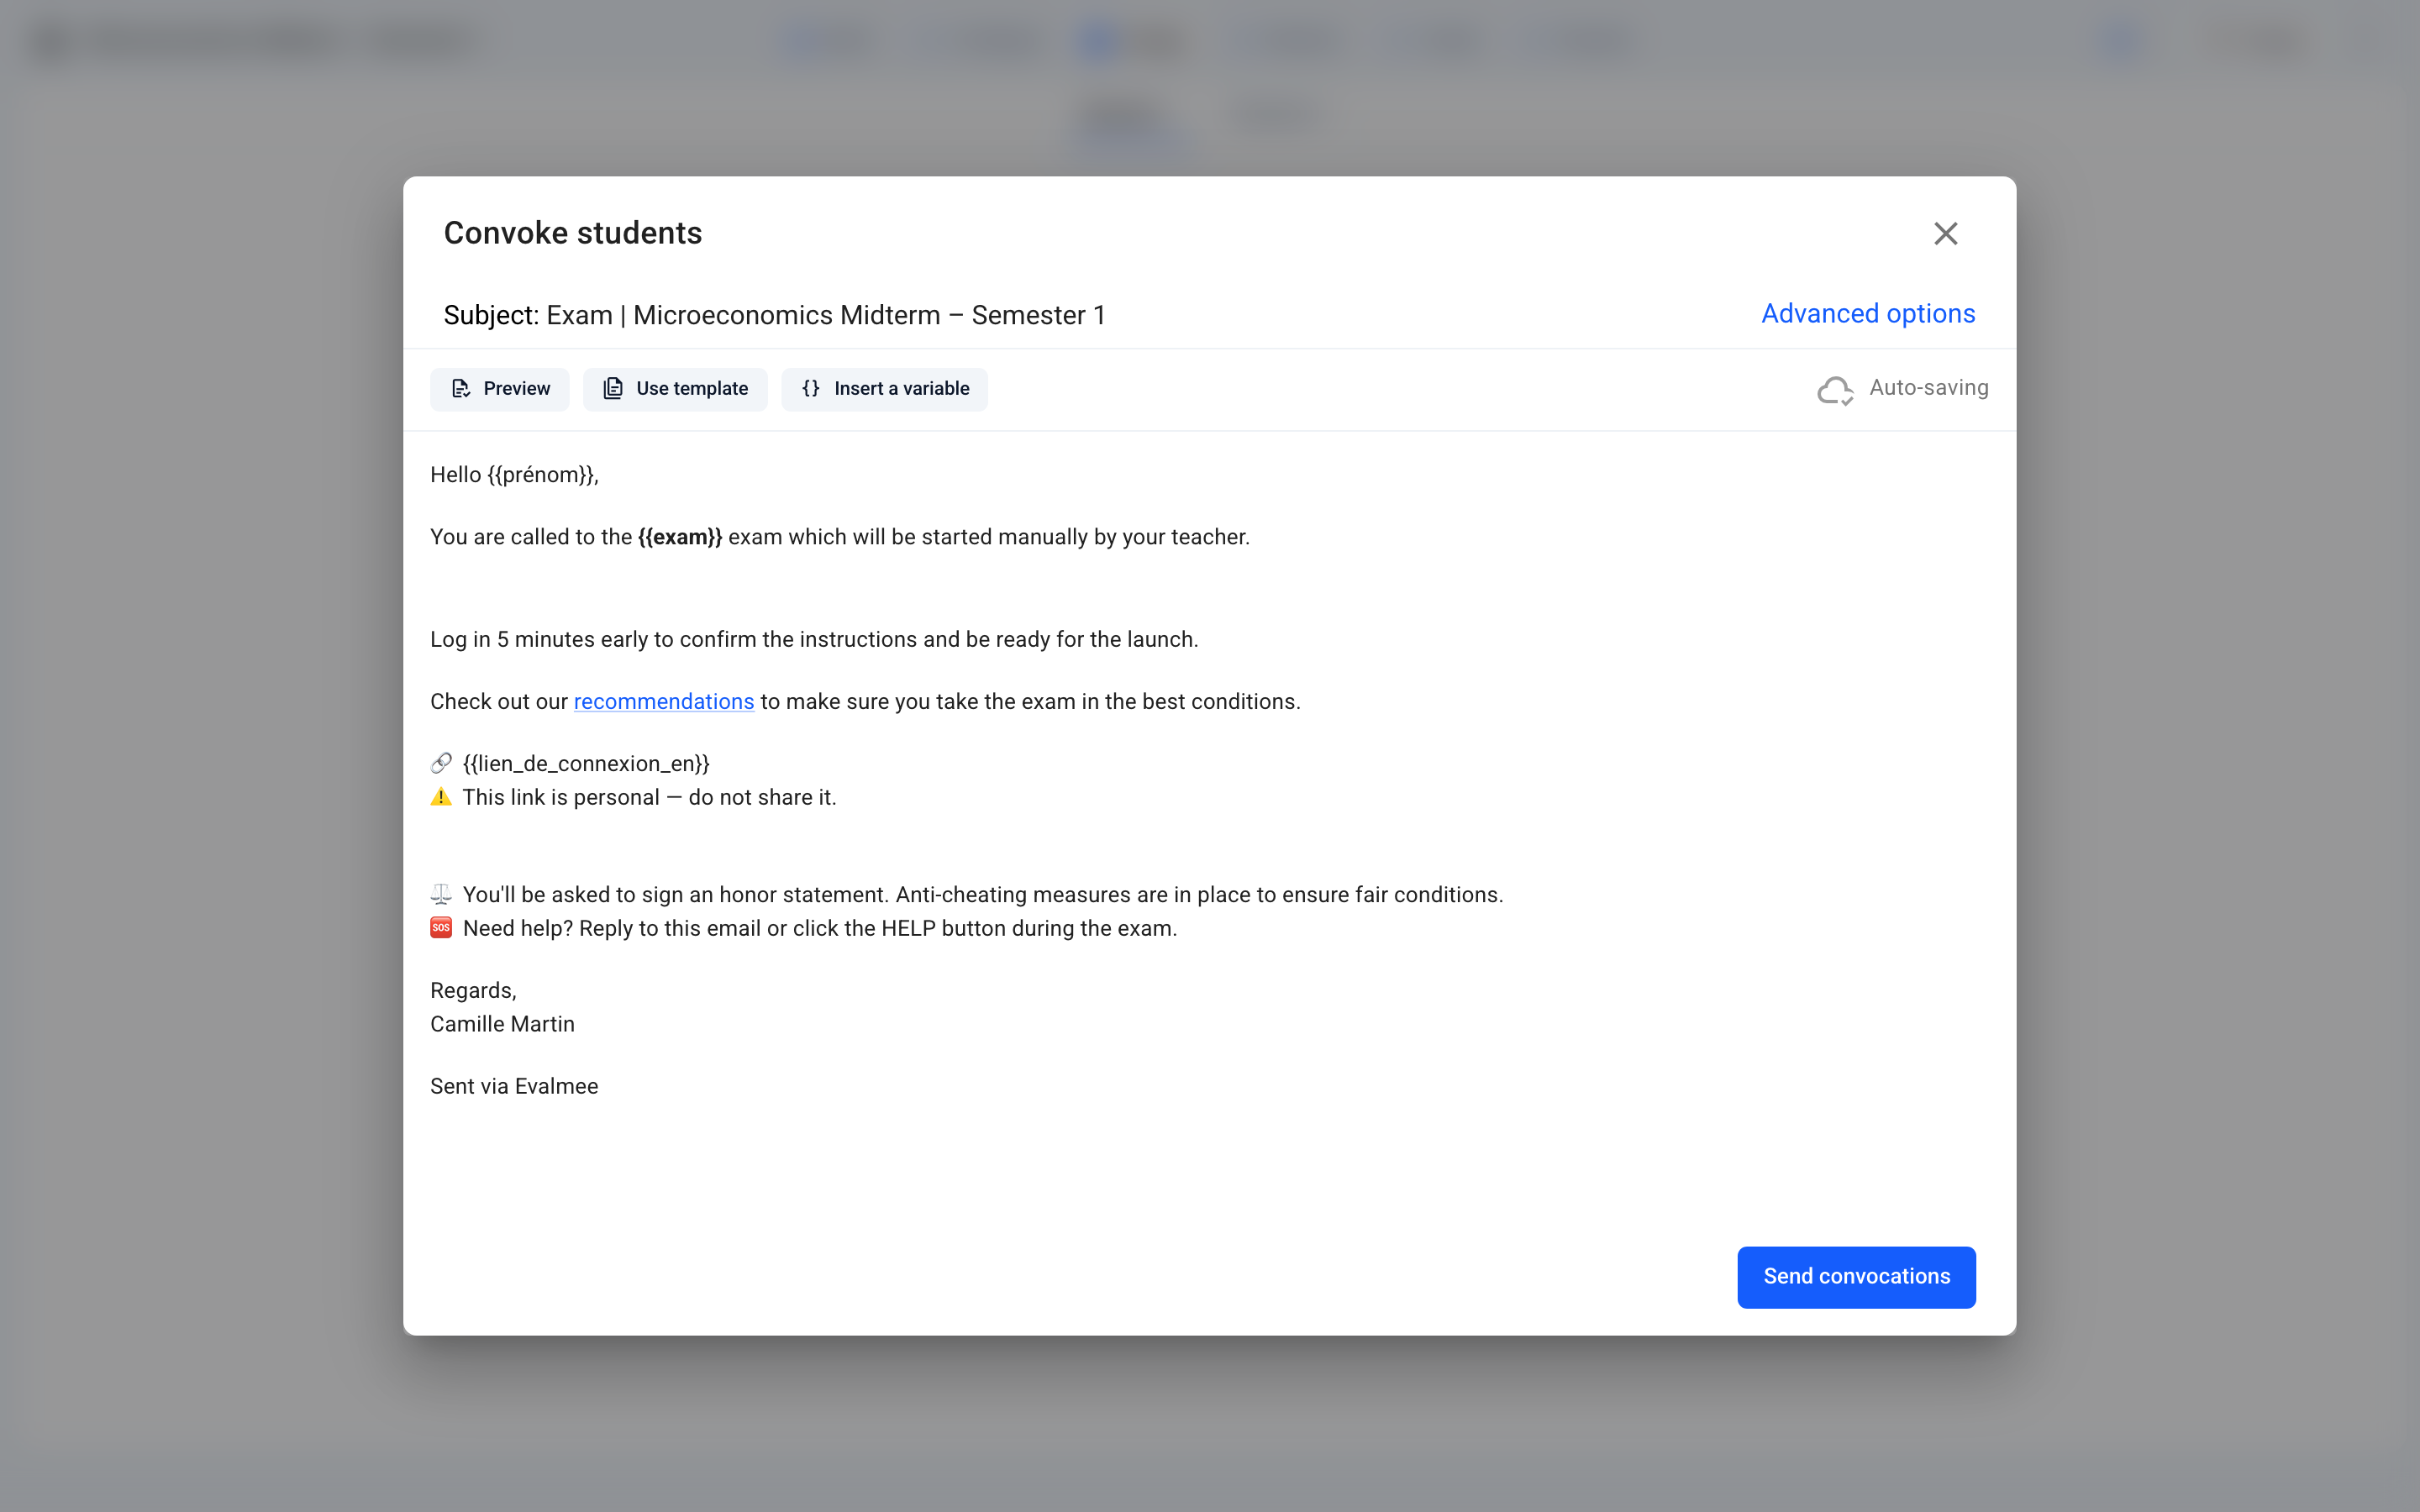
📩 Receiving the convocation does not give access to the exam subject: before the opening, the participant only sees the instructions and the schedule. The exam appears in their dashboard 15 minutes before the opening.
8. Exam day
If the session is scheduled, it opens and closes automatically.
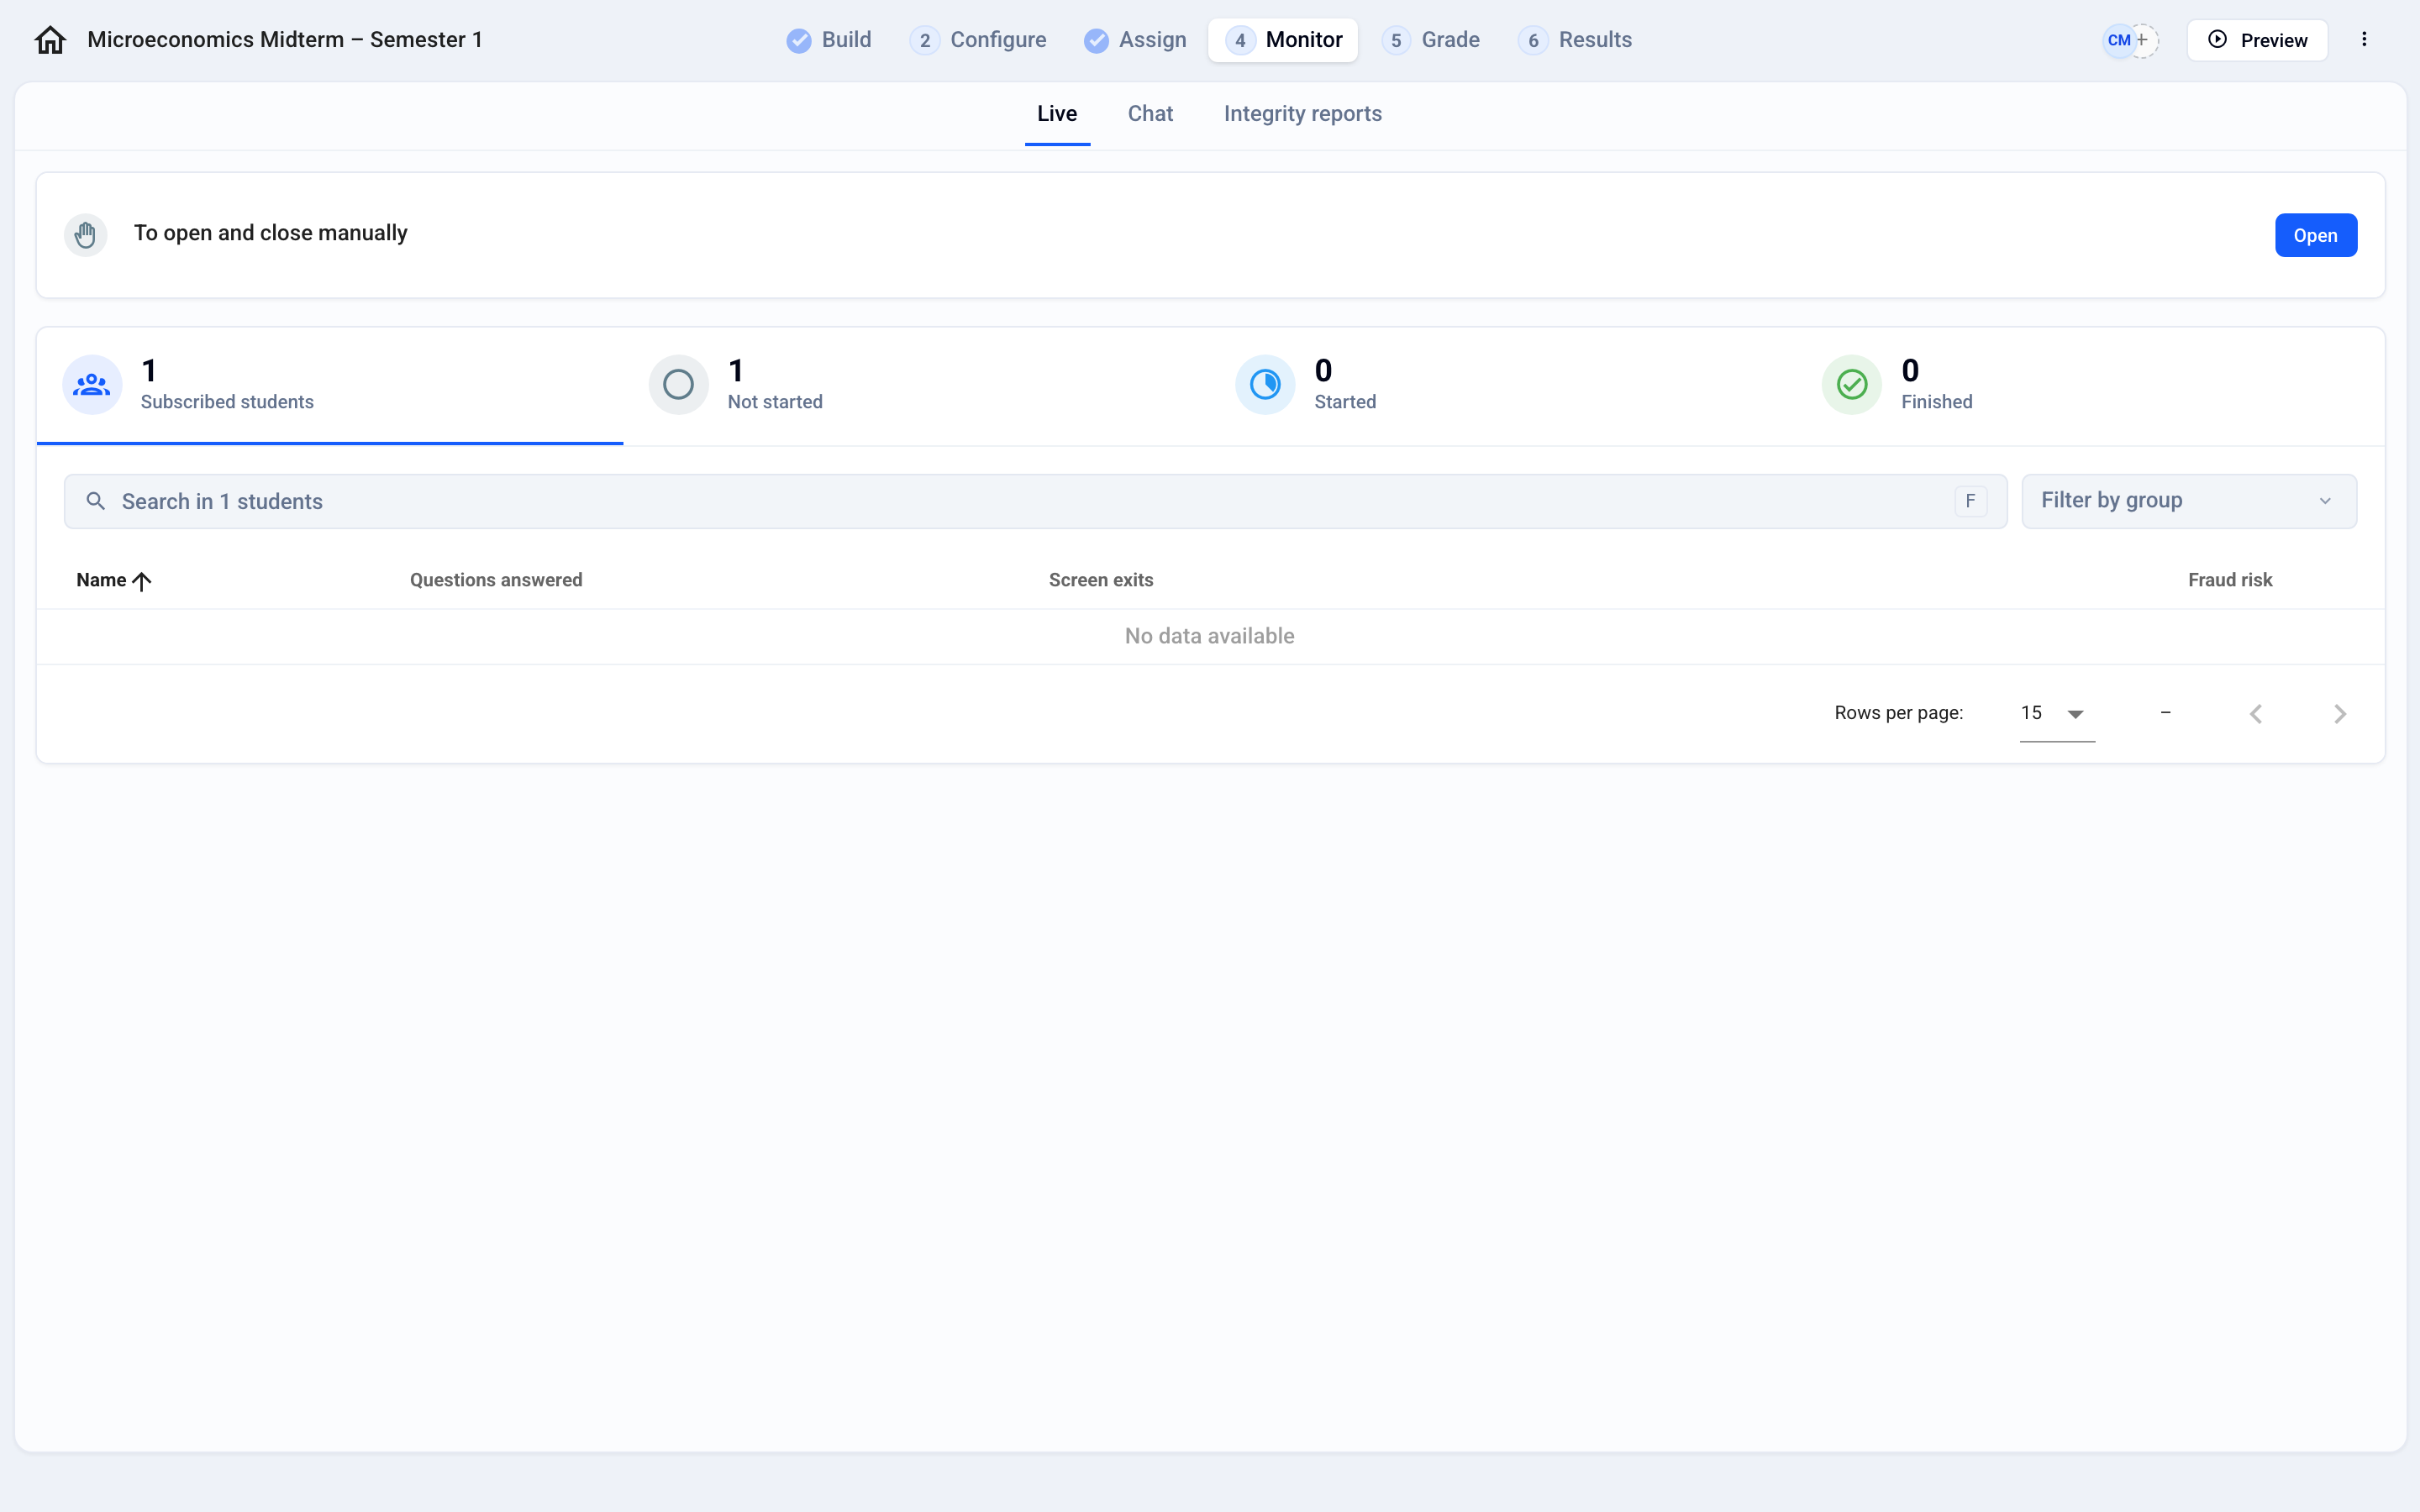
Otherwise, in Monitor › Live, click Open to start the session, then Close to end it.
Follow your participants’ progress on this same page: Live tracking
Does a participant need more time? Add extra time
9. Grade and share the grades
Closed questions (MCQ, single choice, True/False…) are graded automatically.
Grade open questions in Grade › By question: Grade submissions
View the results in Results › Grades: View grades & submissions
Send the grades to your participants from Results › Share: Share results with participants
FAQ
My exam is scheduled but still a “Draft”, is that normal?
My exam is scheduled but still a “Draft”, is that normal?
Yes. The exam stays a Draft until 15 minutes before the opening time, then automatically becomes Published: it is then visible to your participants, who can start answering at the opening time.
Can I edit the exam subject after it opens?
Can I edit the exam subject after it opens?
Partially: you can edit the points, correct choices, tags, and grading comments, then click Update grades. See Correct the exam subject & grades
A participant did not receive their convocation, what should I do?
A participant did not receive their convocation, what should I do?
Ask them to check their spam folder, then check their email address in Assign › Students. To resend their convocation, select them in Assign › Students and click Send convocation. See Send convocations to participants by email
Was this helpful?
Still need help? Ask the team